How to Lay Mulch in 5 Easy Steps
April 01, 2026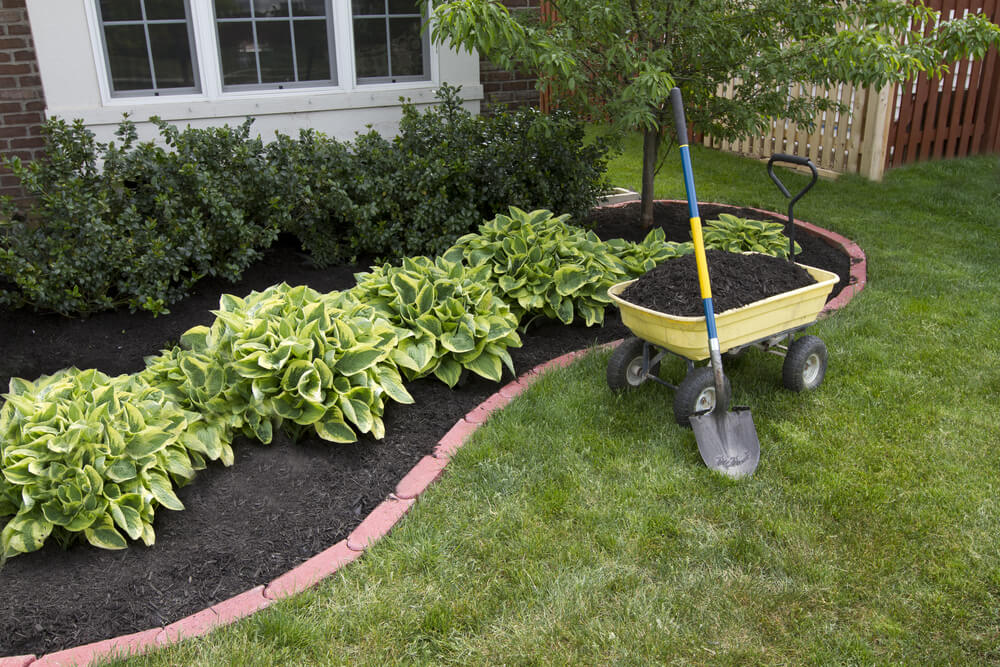
Mulching your landscape seems simple at first—shovel, dump, spread, repeat. But for the best results and healthiest plants, a little more work should go into it. Our step-by-step guide on how to lay mulch provides all the tips you need for creating a yard that will wow the neighbors.
Not sure how much to buy?
What Does Mulch Do Anyway?
Mulch is a protective layer you add over the soil to:
- Limit erosion
- Conserve water
- Ward off weeds
- Add nutrients
- Protect against temperature changes
It also acts as a visual marker of your landscaping, creating a stark contrast against the grass. All types of soil need mulch. Without it, you’ll have a dry and weed-filled yard.
Types of Mulch
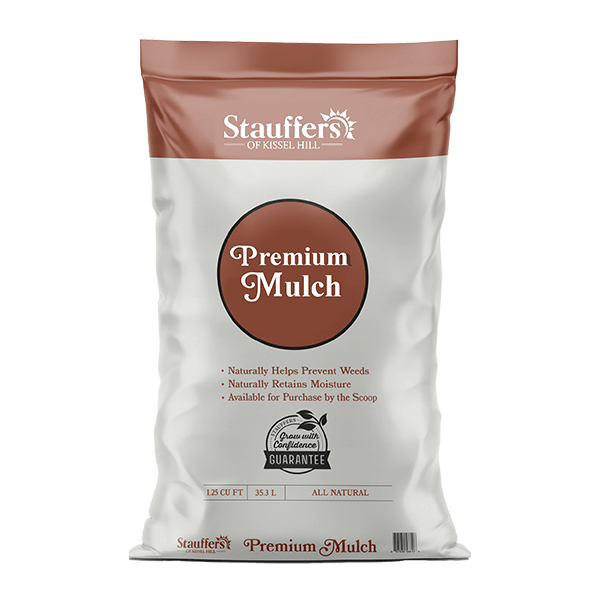
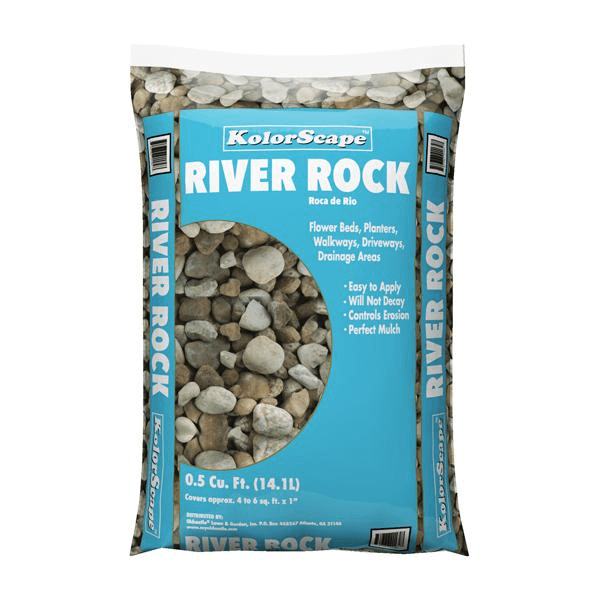
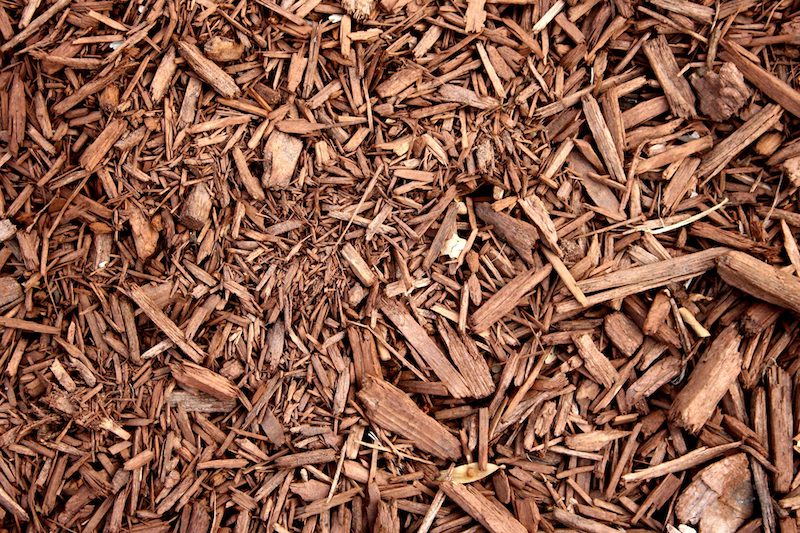
There are two main types of mulch: organic and inorganic. Organic mulch is made of grass clippings, straw, bark, pine needles, and other natural materials. As it decomposes, it leaks nutrients into the soil and even improves its structure. Inorganic mulch (like stone or rubber mulch) doesn’t add any nutrients, but it lasts longer and is better at weed control.
If you’re looking to enrich the soil and don’t mind replacing your mulch more frequently, then organic is perfect. It’s great for vegetable gardens and flower beds, and your plants will absolutely love it!
However, if you want a more permanent option that can tackle a major weed problem, inorganic is the way to go. Our landscaping experts recommend using it around footpaths and other high-traffic areas of your home, or anywhere that attracts lots of weeds.
The most popular mulch for landscaping is hardwood bark. Most are dyed black for a fresh, crisp look, but you can also find them in brown or red. In addition, we sell dyed stones and marble chips for an inorganic alternative.
When To Lay Mulch
The best time to spread mulch is in the late spring or fall. In the spring, seasonal rain helps break down the organic materials in the mulch, which then make their way into the soil. Be careful not to mulch too early—you want to give the ground time to warm up from the winter. Wait until most of your plants have started growing so you don’t accidentally bury them.
Mulching in the fall is also a good choice because it provides an extra layer of insulation as you enter the colder months. Do this before the ground freezes over (usually around Thanksgiving).
No matter the season, you’ll want to plan your mulching session for a time when the ground has thawed, but is still moist. You might also want to choose a day following a light rainfall. The mulch you apply will help seal in the moisture.
How to Lay Mulch Step by Step
Ready to get your hands dirty? Whether you live in Lancaster, Lititz, or another Central PA town, now is the time to get out there and start mulching. Here’s how to lay in mulch in five easy steps.
What You’ll Need:
- Mulch for landscaping — Pick your favorite type and color to get started.
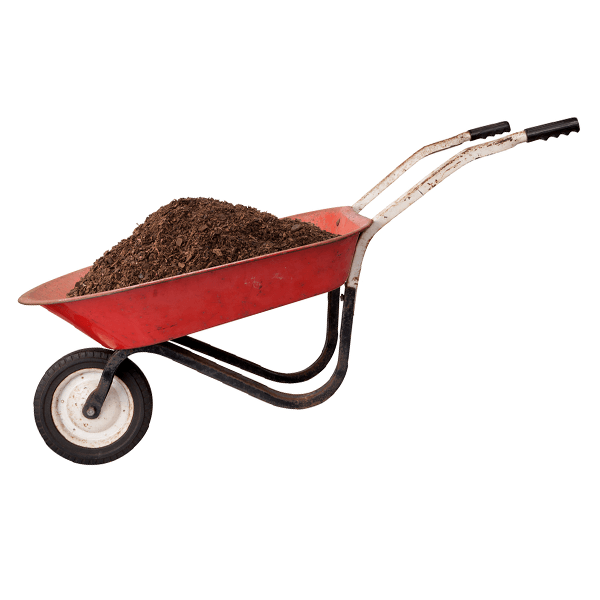
- Shovel or pitchfork — If you’ve had scoops of mulch delivered to your home, you’ll need a shovel or pitchfork to place your mulch into a wheelbarrow.
- Wheelbarrow — Easily transport your mulch to different areas of your yard.
- Rake — A bow rake is the best option for spreading mulch because of its shorter, stronger tines. But you can use a handy leaf rake to get the job done as well. Flip it over and use the back side for a smooth mulch job with no bumps.
- Gloves — Keep your hands protected when spreading mulch in hard-to-reach places.
Step 1: Clean Out Your Beds
The first step for how to lay mulch is to start with a clean surface. Remove dried-up leaves, debris, sticks, weeds, and old mulch from previous years.
Also take this time to freshen up the edging along your beds. Use a spade to cut a clean, defined line between your bed and the lawn. Consider adding bricks or stones to line the edge. This will keep the mulch contained while giving your landscaping a sharper look.
Step 2: Wet the Soil
If it hasn’t rained recently, you should wet down your dry beds. As we said above, mulching helps seal in the moisture. Before you water the soil, you may want to apply a pre-emergent herbicide. This will form a barrier to prevent any weed seeds from sprouting. Preen is our favorite, and since it needs to be watered to activate, this is the ideal time to get it done!
Step 3: Spread the Mulch
Shovel mulch from your wheelbarrow (or shake it from your bag) into small piles. Then use a rake to spread the mulch. As you get close to the base of your plants, switch to using your hands for more control.
As you mulch around trees and plants, it’s very important to let them breathe. Keep the mulch about three inches away from the base or trunk of your plants. We don’t want any mulch volcanoes! This buffer ensures you avoid suffocating your plants and prevents the development of rot and other diseases. It also helps the air to circulate.
How deep should mulch be? Aim to spread your mulch two to four inches thick, so you don’t see the soil beneath. If your mulch layer is too thin, then weeds can still push through. If it’s too thick, it prevents water from reaching the soil. Extend it to the drip line—the outer edge of the plant’s canopy.
Step 4: Water After Mulching
This step for how to lay mulch is optional, but a final watering can help settle the mulch into place.
Step 5: Maintain Your Landscaping
Periodically check the depth of your mulch throughout the year. Add more in areas where it’s been compacted or worn away, and remove any that’s piled too high. If the color has faded, add a thin layer of fresh mulch on top to brighten things up. When you notice weeds poking through, pull them immediately so they don’t spread.
With every new season, take some time to rake your mulch. Turning it like this will keep it fresh so it doesn’t fade as quickly.
Most organic mulch needs to be replaced every one to two years. The smaller the pieces, the sooner it’ll need to be replaced. Keep an eye out for rot, mold, or color changes. If the mulch is matted and unusable, then discard it. But if not, try fluffing it up and adding more on top to the desired depth.
Inorganic mulch can last for years, but it’s still a good idea to keep an eye on it and make sure it remains in good condition.
Stauffers Mulching Services
Seem like a lot of work? Our expert landscaping team offers mulch installation for homes across Central PA. Just choose the type of mulch you want, and we’ll schedule a time to install it for you. Our mulch spreading services guarantee perfect coverage and depth for a fresh look to your yard. The cost is $90 per scoop, plus the price of your mulch (with a minimum install fee of $250).
Save a little money with our mulch delivery! We can deliver bagged or bulk mulch, stone, or pavers right to your doorstep, saving you a trip and a dirty car. There’s a mileage-based delivery charge, plus the cost of the mulch.
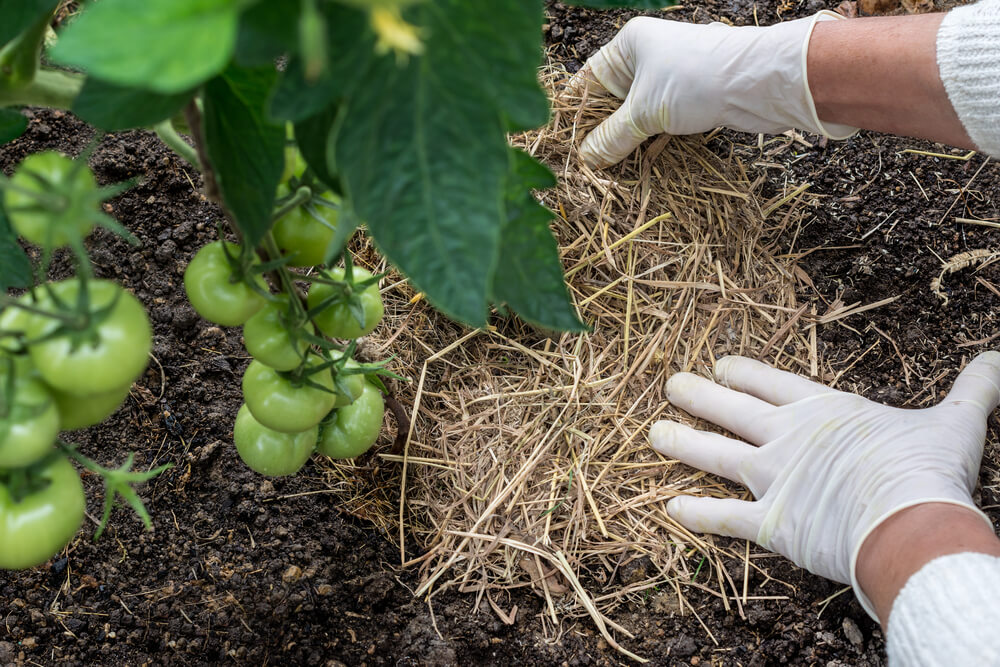
Tips for Mulching Vegetable Gardens
Mulching in large areas is easy, but there are additional tips for spreading mulch when you’re working in tighter spaces.
- For vegetable gardens, you need to turn the soil every year. This will make heavier mulches (like wood bark) harder to work with. Instead, choose a lighter organic mulch like grass clippings, leaf litter, or straw.
- Add mulch between your rows of plants to keep weeds away.
- Do not add herbicide around your vegetables. However, you can add fertilizer before you mulch.
Mulch Calculator: How Much Should You Buy?
Now that you know all the steps for how to lay mulch, you’re ready to get started. But how much should you buy? You don’t want to get halfway through the project only to find your supply has dwindled. However, you also don’t want a mountain of mulch left over when the job is done. Follow this formula for how to determine how much mulch you need.
- Multiply the length and width of your space to find the total square footage.
- Figure out how many bags you’ll need for your space.
- 2 cubic foot mulch bags: Square footage / 12 = Total bags needed for a 2-inch thick layer of mulch
- 3 cubic foot mulch bags: Square footage / 18 = Total bags needed for a 2-inch thick layer of mulch
- Bulk mulch: Square footage / 128 = Total scoops needed for a 2-inch thick layer of mulch
Don’t want to do the math yourself?
Stock up on mulch in time for spring. Contact your local Stauffers Home & Garden Center to place an order. And yes—we deliver!