For Sod Success
How To: Sod Installation
A lush lawn provides instant curb appeal, but long-term success requires more than just laying grass. Our sod installation guide covers everything from soil prep to critical aftercare, ensuring your new yard takes root quickly and stays vibrant for years to come.


- Clear and Clean: Remove existing grass, rocks, weeds, and debris.
- Loosen the Soil: Till or aerate the top to promote root growth and water absorption.
- Amend if Needed: Mix in starter fertilizer or organic matter for compacted or clay soils.
- Smooth the Surface: Lightly firm the soil so footprints don’t sink, but it’s not packed hard.
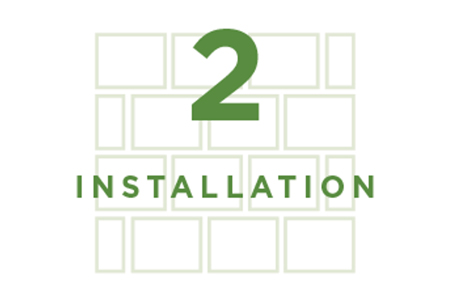
- Plan Your Layout: Start along a straight edge like a driveway or sidewalk.
- Lay Like Brickwork: Stagger seams for stability and a clean look.
- Tight but Not Overlapped: Lay pieces tightly together to prevent gaps to avoid drying out.
- Roll to Finish: Lightly roll over sod with garden roller (or alternative) for soil contact.
- Unused Pallets: If sod cannot be installed right away, lay half of each pallet to limit pallet heating.

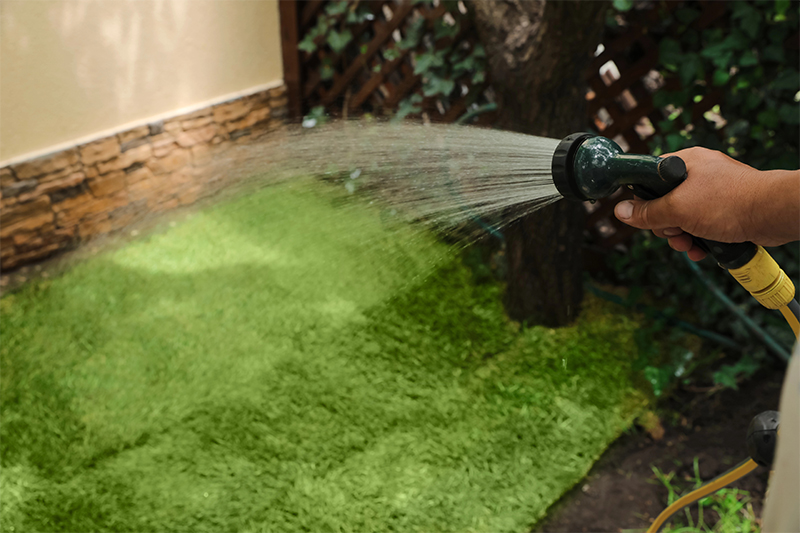
- Start Immediately: Don’t wait! New sod dries fast in the sun.
- Keep It Moist: Water until both sod and soil are damp .5-1″ deep.
- Stay Consistent: Water 2-3 times daily during the heat of the day for the first week; adjust for weather.
- Watch the Edges: Corners and borders dry out first, check them daily.
- Ease Back Gradually: Once rooted, switch to deeper, less frequent watering.

- Test the Roots: Tug gently and mow only when sod is firmly anchored.
- Raise the Blade: Avoid scalping; leave 2.5-3″ of height.
- Light Foot Traffic Only: Wait until you’ve mowed 2-3 times before regular use.
- Optional Protection: Apply preventive fungicide in hot, humid weather.

Sign Up for Our Home & Garden App
Keep up with the latest sales, events, and app-exclusive coupons. Check in and get rewarded! Get an instant $5 OFF Coupon with a $25 minimum purchase using PROMO CODE: WELCOME

